Bird Photography: Settings, Fieldcraft, Ethics, and Gear
- Dec 10, 2025
- 4 min read
Birds move fast, change distance, and live in tricky light. This guide gives you a clear path to beautiful bird photography with smart settings, simple fieldcraft, ethical choices, and practical gear criteria.

Quick-start settings for bird photography
Use this as your default and adjust from there.
Mode: Manual with Auto ISO
Shutter speed: 1/2000 s for flight, 1/1000 s for perched birds
Aperture: f/5.6 to f/8 for reach and sharpness
ISO: Auto with a reasonable ceiling for noise
AF: Autofocus (AF) in continuous autofocus (AF-C) or Canon AI Servo (continuous AF), enable subject tracking or Bird Eye AF if available
Drive: High-speed burst
Stabilization: On for handholding. Mode 2 for panning
Metering: Evaluative or Matrix. If the sky clips, dial -0.3 to -1.0 EC (exposure compensation)


Bird photography settings: recommended values by scenario
Start with these and adjust for light, background, and behavior.
Scenario | Shutter | Aperture | ISO | AF mode | Tips |
Perched in shade | 1/1000 | f/5.6-f/7.1 | Auto, cap as needed | AF-C, single point on the eye | Brace on a tree or monopod |
Perched in bright light | 1/1000 | f/7.1-f/8 | Auto, likely low | AF-C, single or small zone | Watch highlights, use slight negative EC if sky clips |
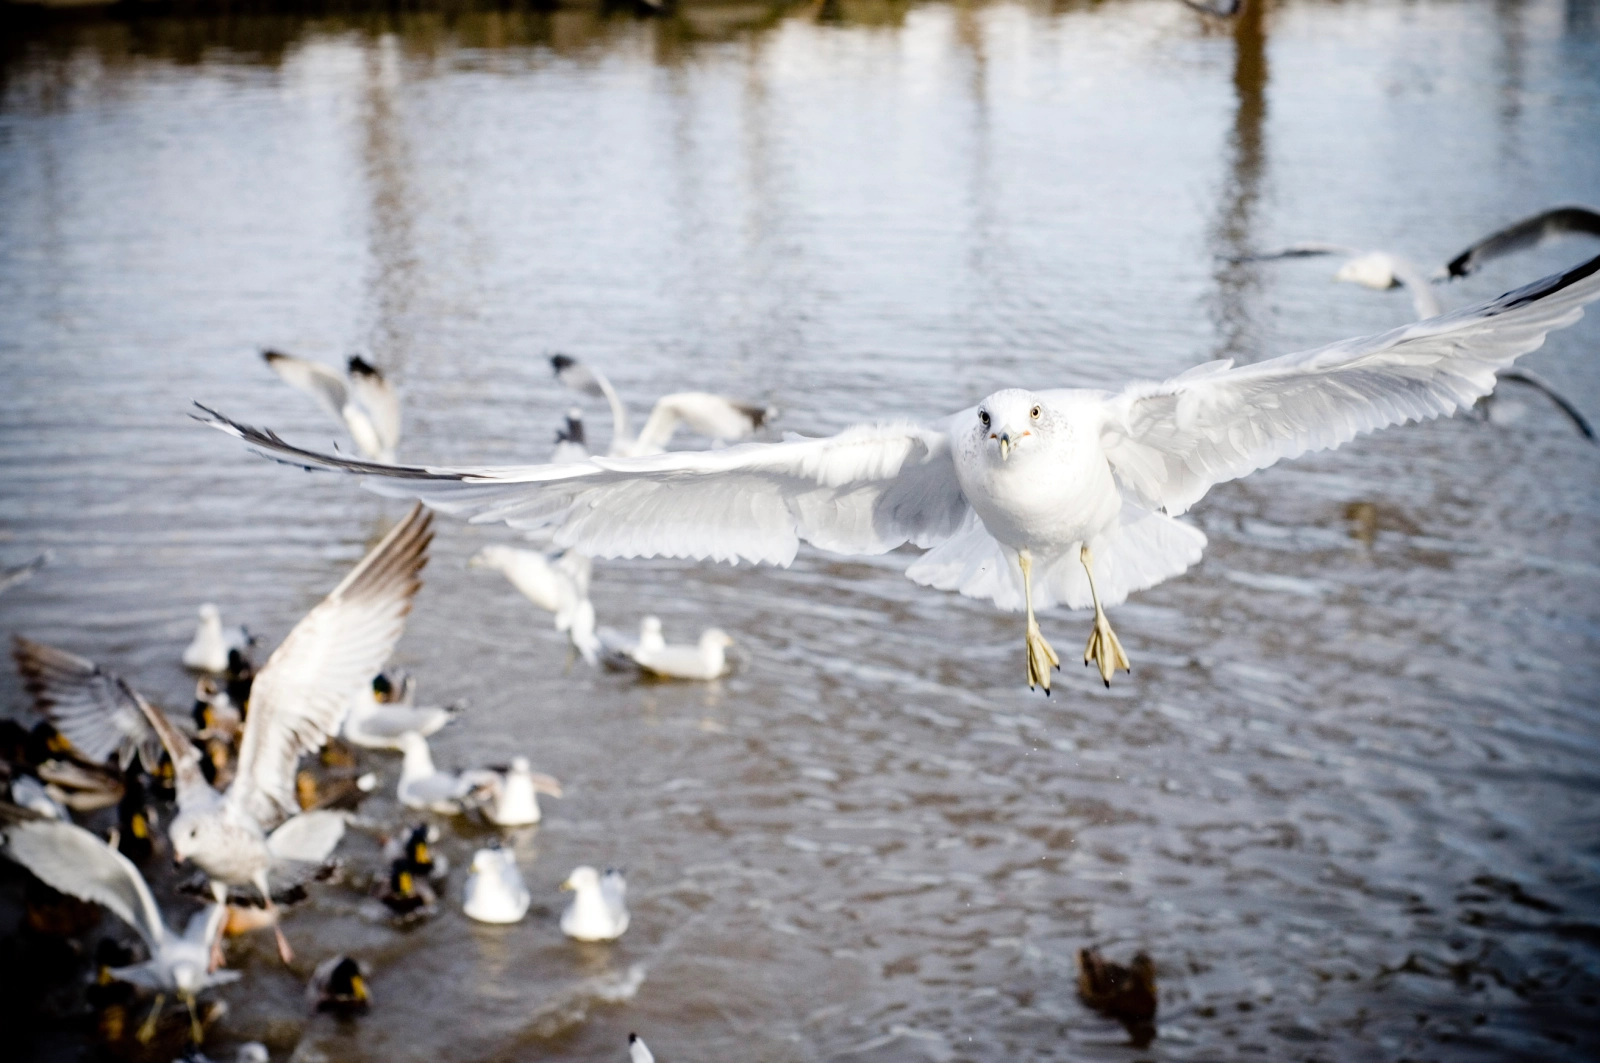
Flying bird against sky | 1/2000-1/3200 | f/5.6-f/7.1 | Auto | AF-C, wide zone with tracking | Slight negative EC to protect sky, smooth pan |
Flying bird against trees | 1/2000-1/3200 | f/6.3-f/8 | Auto | AF-C, tracking with smaller zone | Pre-focus to distance, keep background far |
Dawn or dusk | 1/1000 minimum | f/5.6 | Auto, higher cap | AF-C, tracking | Use bursts, accept higher ISO, expose for the bird |
Notes: autofocus (AF), continuous autofocus (AF-C), exposure compensation (EC).

Why these settings work
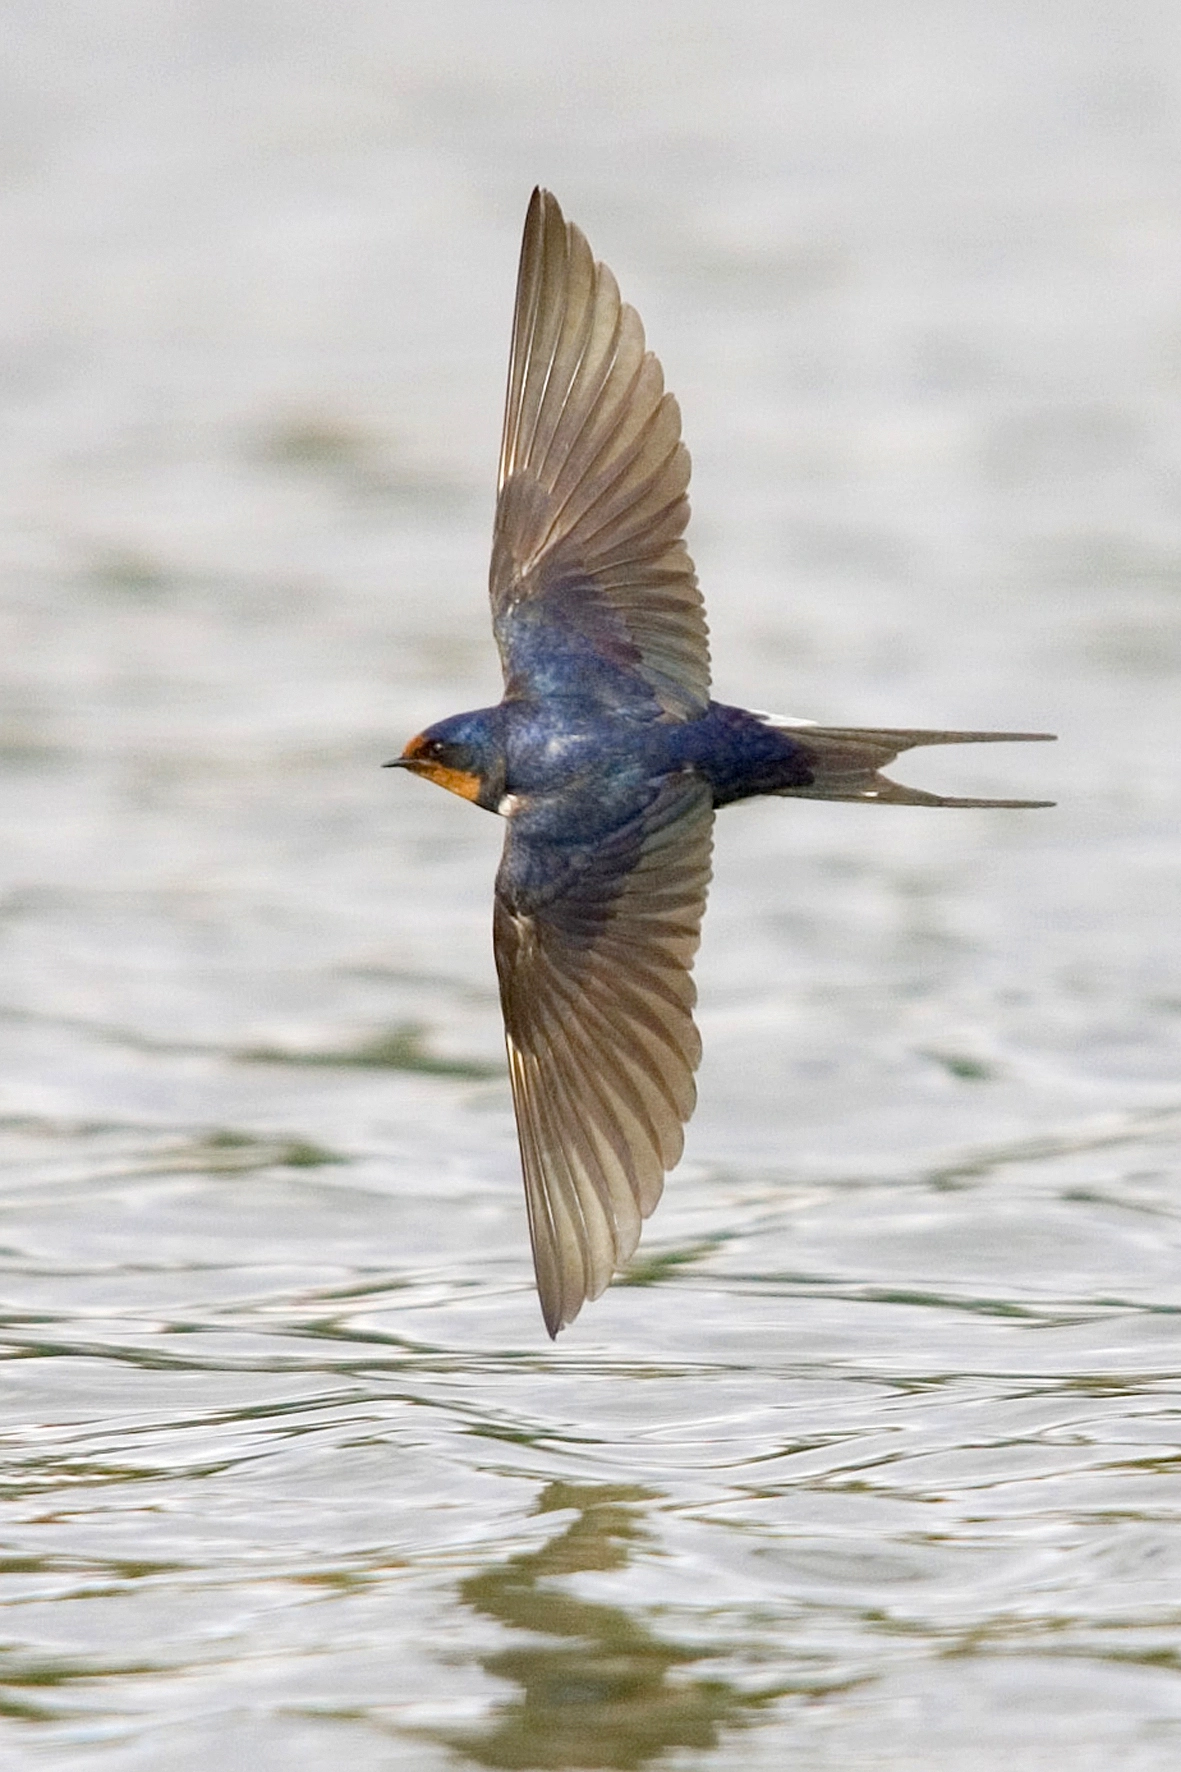
Shutter speed freezes wing motion. Small, fast birds need 1/2000 s or faster, larger birds can be sharp at 1/1600 s if the wing beat is slow.
Aperture around f/6.3-f/8 gives reach and sharpness on long lenses, while still isolating the subject.
ISO floats as light changes. Set a ceiling you accept for noise and apply gentle noise reduction later.
AF-C with tracking keeps focus on moving subjects while you recompose.
EC corrects for bright skies or dark backgrounds. Use -0.3 to -1.0 for bright sky, small positive EC in dark woods.


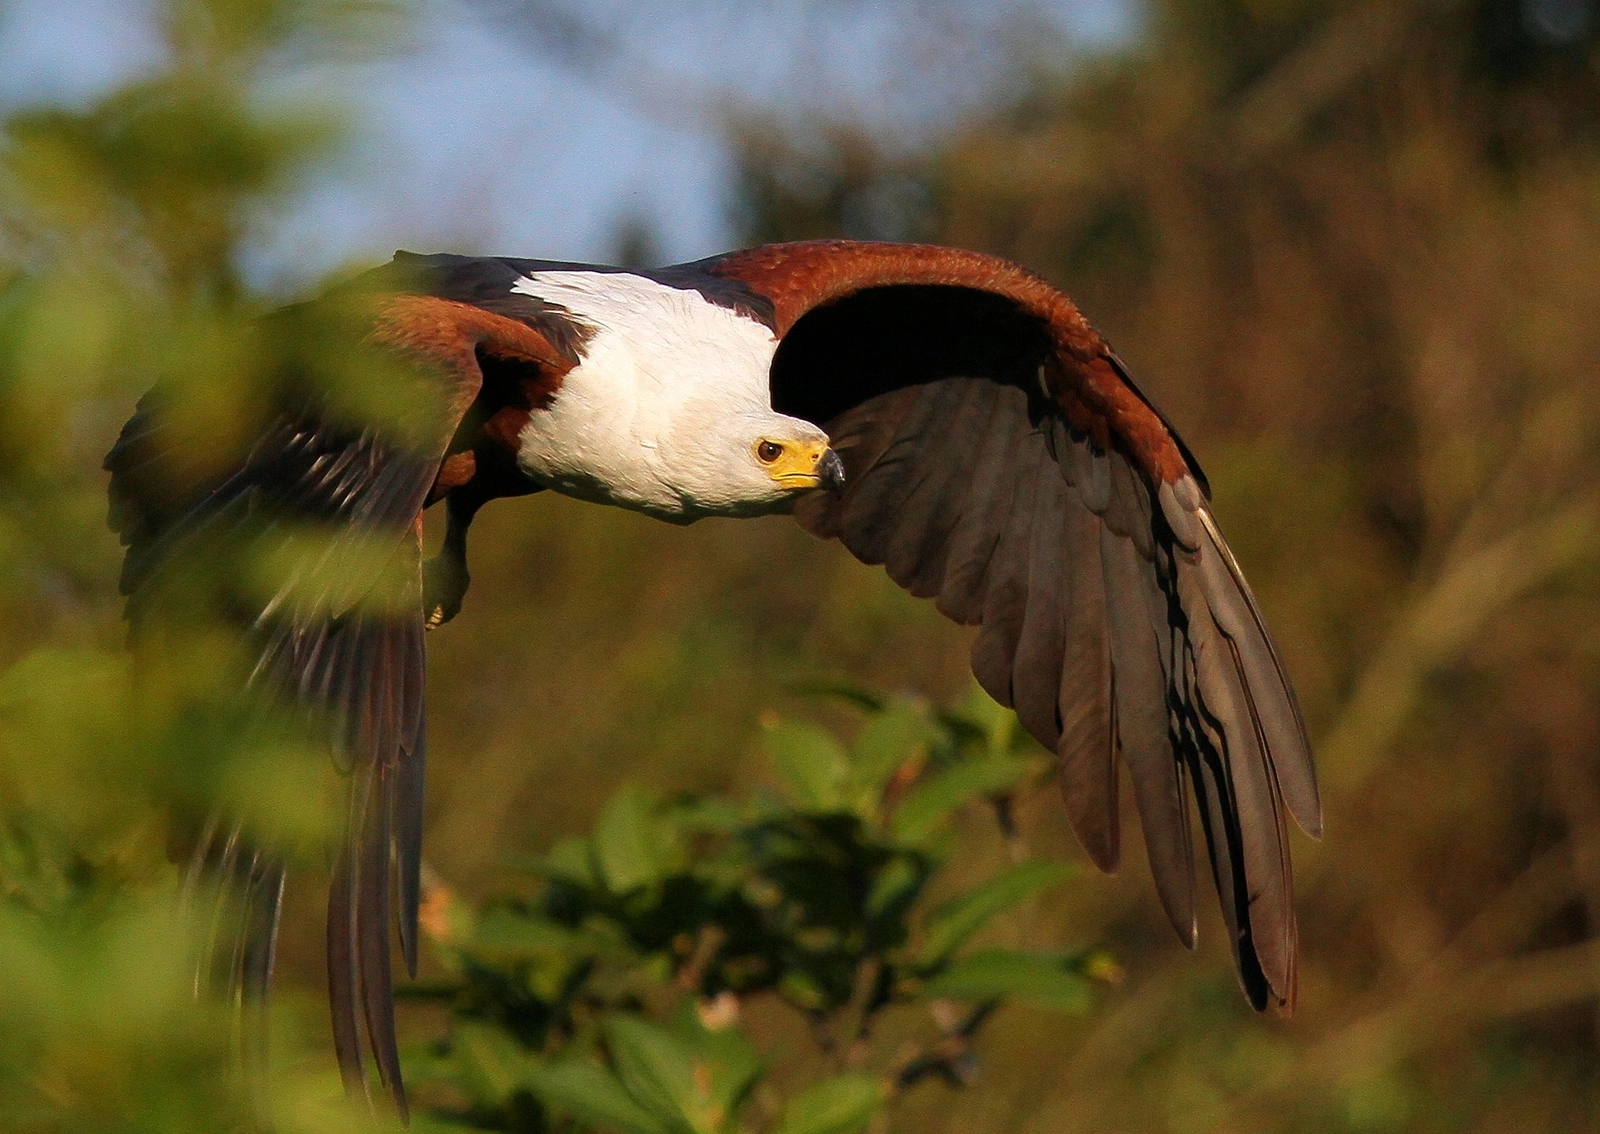
Flying bird photography: a simple, repeatable technique

Shutter first. Set 1/2000 to 1/3200 s to freeze wings.
AF and zone. Use AF-C with a wide or expandable zone, enable tracking when it sticks reliably.
Expose for the bird. Against bright sky, add slight negative EC, against dark trees, add slight positive EC.
Pre-focus. Focus on a distant object at the expected distance to acquire faster.
Pan smoothly. Rotate from the core, keep both eyes open, follow through after the click.
Shoot in bursts. Short bursts catch peak wing position and protect buffer.


Gear framework: best camera and best lens for bird photography
Best camera for bird photography: what to look for
AF and tracking that recognize birds or eyes.
Burst rate and buffer that handle sequences without choking.
High ISO performance for dawn and shade.
Weather sealing for real-world field work.
Resolution or crop reach so you can crop when you cannot get closer.

Best lens for bird photography: zooms vs primes
Zooms (100-400, 150-600, 200-600 mm): flexible, handholdable, excellent for varied distance.
Primes (300, 400, 500, 600 mm): faster AF and sharper, heavier and costlier, pair with a monopod.
Teleconverters: useful in bright light, expect some AF and light loss.
Stabilization: crucial when light drops or when handholding at marginal shutter speeds.

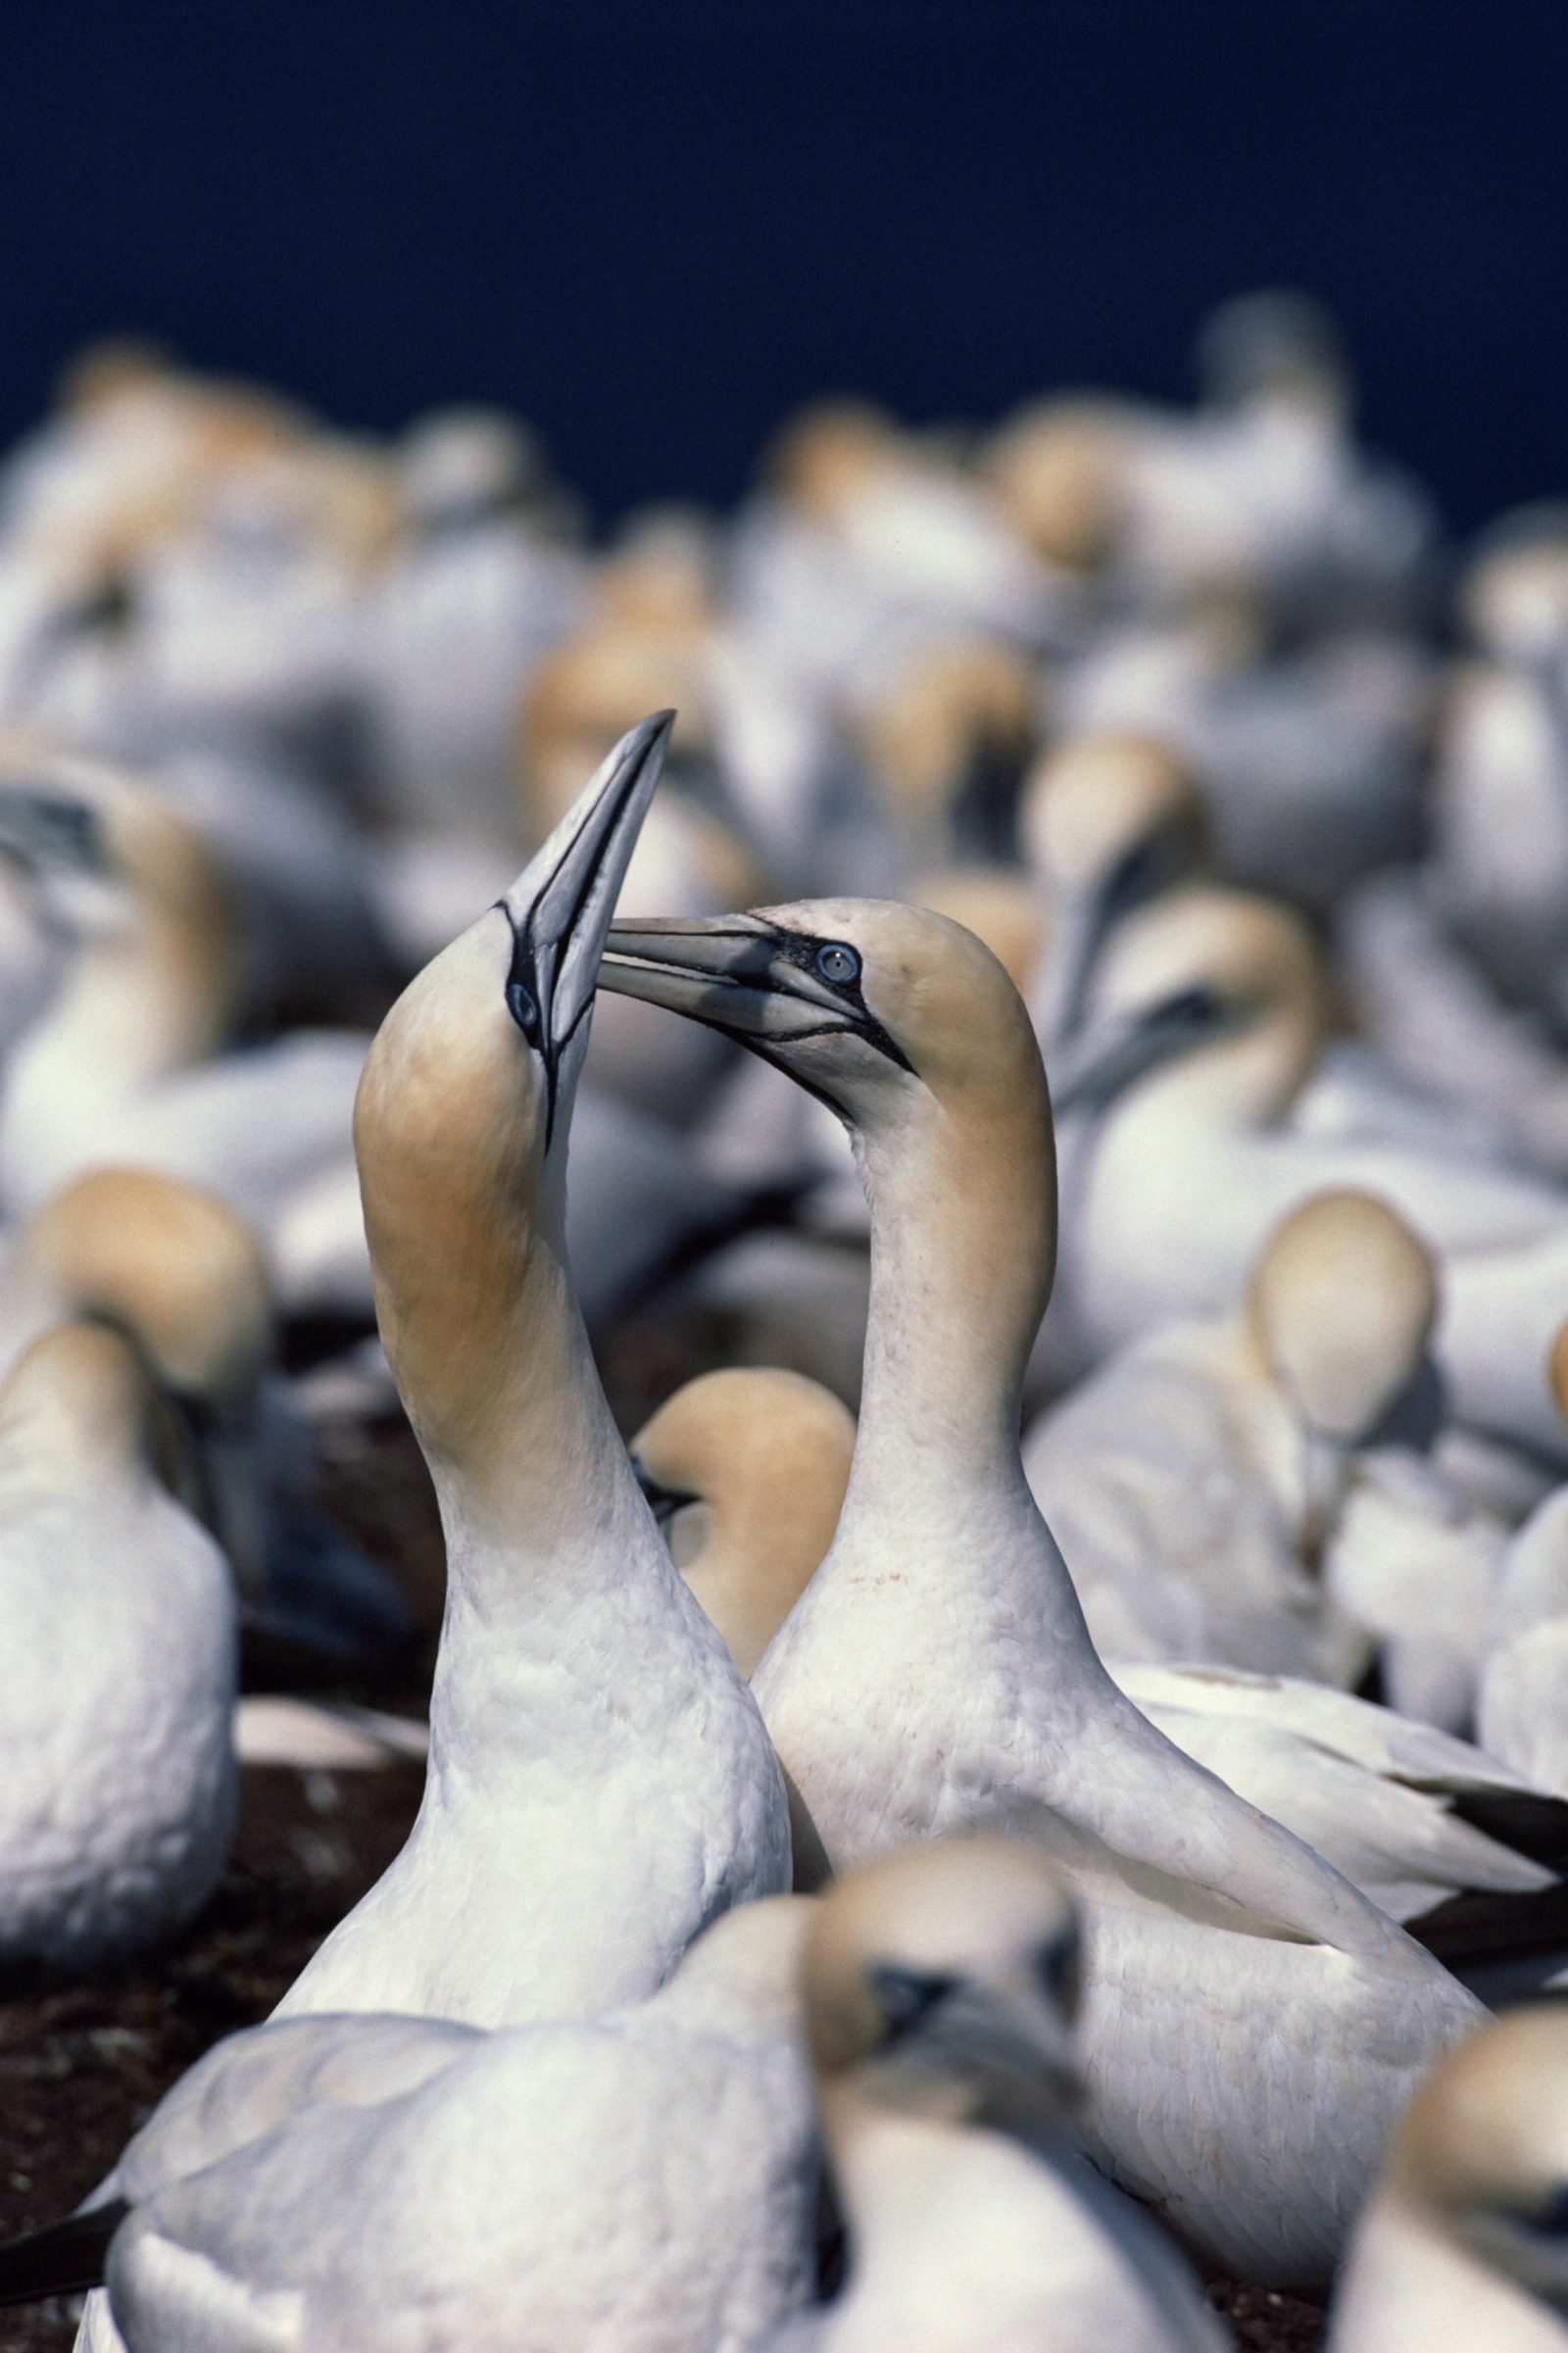
Fieldcraft that actually improves your keeper rate
Learn the species: feeding times, perches, flight paths.
Approach with respect: short steps, side-on angles, low silhouette, no direct staring.
Use distance: a longer lens with a respectful buffer produces natural behavior and better poses.
Work the light: early and late give catchlights and soft color.
Choose backgrounds first: distant, uniform backgrounds make clean frames.
Shoot low: eye-level views feel intimate and remove horizon lines from heads.
Simple workflow in the field
Arrive early and watch first.
Set your default settings.
Test a perched shot, check histogram and focus.
Track for flight, shoot short bursts.
Review when the action pauses.
Log the spot and behavior for next time.


Ethics in bird photography
If the bird changes behavior, you are too close.
Avoid nests and do not publish nest locations.
Limit playback. If used at all, stop at the first response.
Do not bait raptors.
Leave no trace and share locations with care, especially for sensitive species.
FAQs
What is the best camera for bird photography?
Choose fast AF with reliable subject tracking, a high burst rate, strong high-ISO performance, and weather sealing.
What is the best lens for bird photography?
Start with a 100-400 mm or 150-600 mm zoom. Move to a 500 or 600 mm prime if you need more reach and speed.
Do I need a tripod?
Not always. Modern stabilization and fast shutter speeds make handholding common. A monopod helps with heavier lenses.
How do I approach flying bird photography?
Use 1/2000-1/3200 s, AF-C with tracking and a wide zone, adjust EC for background, pre-focus, and pan smoothly.
How can I get beautiful bird photography without disturbing wildlife?
Keep distance, move slowly, use cover, avoid nests, and work at eye level during soft light.

Treat bird photography as a system. Lock in a default setup, refine AF behavior and EC by background, keep distance so behavior stays natural, and work clean backgrounds. With a clear framework for settings, fieldcraft, ethics, and gear, you will produce consistent, beautiful bird photography in any season.


